Individual Sessions: How to Sell, Plan, and Manage 1:1 Sessions in Zooza
This guide explains a practical workflow for individual (1:1) sessions in Zooza:
- Collect interest / bookings for 1:1 sessions (even without fixed dates)
- Create a private individual plan for each client (with sessions and payments)
Option A: Collect interest first (recommended)
Why this approach works
- You can advertise “Individual sessions” without publishing a real schedule.
- You still get bookings inside Zooza (client record + booking context).
- Later, you convert each booking into a personal 1:1 plan (a private class/class with sessions).
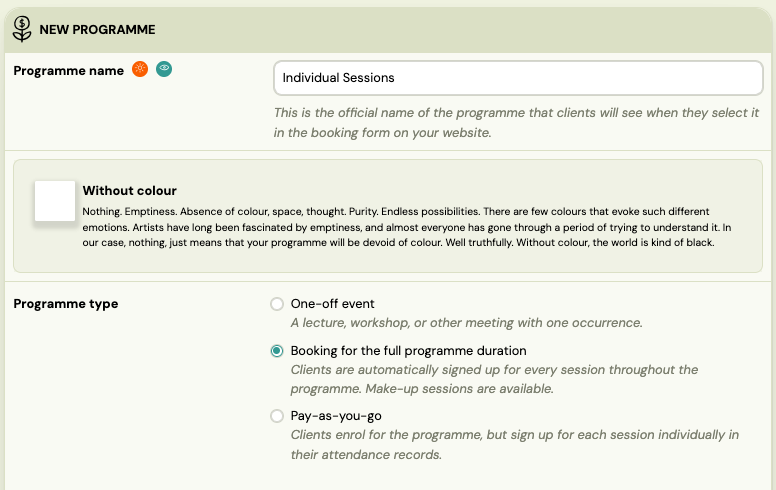
Step 1: Create a programme for “Individual sessions”
- Go to Programmes
- Create a new programme, e.g. “Individual Sessions”
- Set the programme type to Ongoing (Booking for the full programme duration)
- Save
Tip: Keep the programme simple. The goal is to have a “container” to collect interest and later manage bookings.
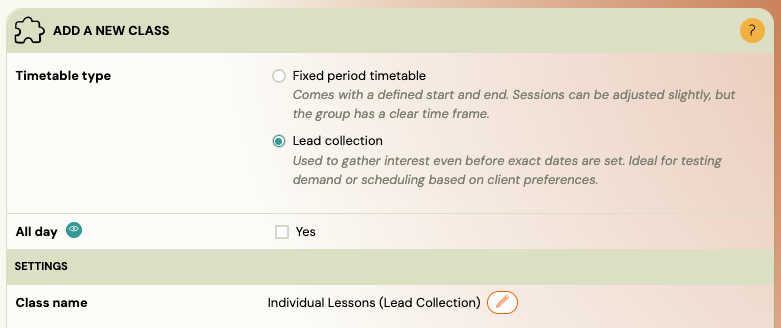
Step 2: Create a class without sessions (for lead collection)
- Open the programme Individual Sessions
- Create a new Class
- Do not add any sessions yet
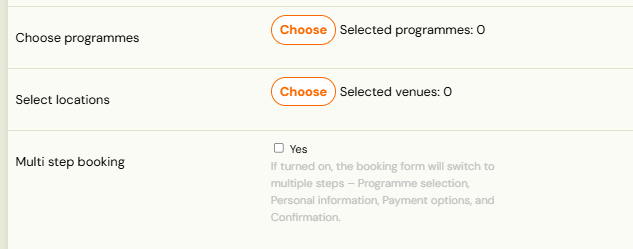
- Ensure it is visible for online registration only if you want to collect sign-ups publicly
Result: you can collect bookings even though there are no sessions yet. You now have bookings in Zooza, ready to be assigned to an individual plan.
Step 3: Collect bookings (interest)
Clients can register via your online booking flow (or you can add them manually). Once submitted, you will see these bookings in Zooza.
What happens next?
- You now have a booking record linked to the client
- the programme (“Individual Sessions”)
- the initial class (interest placeholder)
From here, you can create the real 1:1 plan.
Step 4: Create a booking manually (optional)
You can also create bookings manually in Zooza, for example when:
- a client calls / messages you directly
- you want to register them without using the website
- you want to copy an existing booking and tweak it
Where to do it (typical places)
Use whichever is most natural in your workflow:
A) From the Client profile
- Open Zooza > Clients > Bookings
- Use an action Create booking

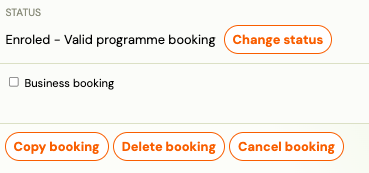
B) Copy an existing booking
- Open an existing booking
- Use Copy booking
- Adjust programme/class/payment plan
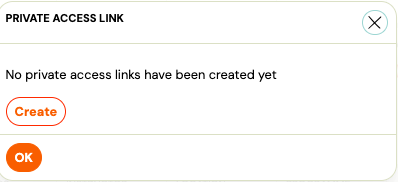
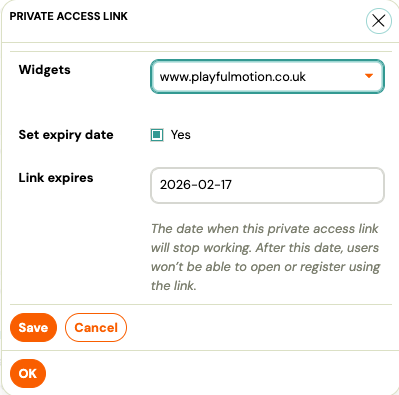
Optional: Share a private booking link for a specific individual class
Sometimes you want the class to stay non-public, but still allow the parent to register online (instead of you creating the booking manually).
You can do this by sharing a private booking link to that specific class/class.
How it works
- The class/class is not publicly listed on your website/widget.
- Only people with the direct link can open the booking page and submit the booking.
Steps
-
Open the individual class (e.g. “1:1 – John Smith”)
-
Find the option to copy the booking URL: Copy URL
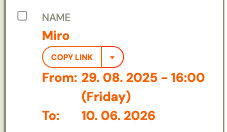
or Customized link
-
Send this link to the parent.
Result: the parent can register the child into that specific individual plan via the link, while the class remains private.
Option B: Build the individual plan (private class per client)
This is the core model: one client = one private plan (one private class, sessions, and payment plan).
Step 5: Create a private 1:1 class for the client
- In the programme Individual Sessions, create a new Class
- Name it something like:“1:1 – John Smith”
- or “John Smith (Individual Plan)”
- Disable online booking (so it’s not publicly bookable) (during the process of class creation, or in the class settings).

Use this setting:
See guide: Online registration options
Goal: This class exists only for internal scheduling and client management.
Step 6: Add sessions (the actual 1:1 class)
Now add the real schedule for that client.
Example: every Tuesday at 10:00.
[
Guide: Creating a class](creating-a-class.md)
Tip: You can create sessions as:
- recurring weekly sessions, or
- individual sessions when needed (more flexible for ad-hoc coaching)
Step 7: Make-up sessions (optional)
If you want to allow a client to cancel and pick another available time, enable custom make-up sessions.
[
Guide: Custom make-up sessions](https://support.zooza.online/portal/en/kb/articles/replacement-sessions)
Typical use-case:
- The instructor has a set of “available slots”
- The client can reschedule into those slots (based on capacity/settings)
Step 8: Payment template per individual booking
Each individual plan (booking) can have its own payment setup.
This is especially useful if:
- client pays monthly
- client pays per block (e.g. 10 sessions)
- you want a tailored schedule (down payment, recurring invoices, etc.)
[
Guide: Payment templates on booking](https://support.zooza.online/portal/en/kb/articles/payment-templates-creation)
Best practice: Keep a few reusable payment templates (e.g. “Monthly 1:1”, “10-pack”, “Pay-as-you-go”), and assign the right one per booking.
Recommended workflow summary
- Create programme “Individual Sessions” (Ongoing)2) Create interest class (no sessions)3) Collect bookings (online or manual)4) For each client:
- Create a private 1:1 class/class named after the client
- Add sessions (weekly or ad-hoc)
- Enable make-up session logic if needed
- Assign the payment template for that booking
Notes & common pitfalls
- Don’t publish the real 1:1 class online (unless you intentionally sell bookable slots).
- Use a separate private class per client if you want clean reporting, payments, and scheduling.
- If you want to offer “pick a time from available slots”, build availability via the make-up session approach rather than publishing a fixed timetable.