Creating a class
Classes divide a programme into time periods — for example, by term, level, or location. When you repeat a programme, you do not need to create a new programme with all its settings from scratch. Instead, add a new class that automatically inherits the programme settings.
This guide walks you through creating a class, filling in the required details, and understanding what you see after the class is created.
The fastest way to set up several at once is to ask the assistant. Zooza AI can create programmes and classes for you — describe the term, the days and the venue and it does the wizard work. It uses your own permissions, so it can only do what your role allows. The manual route below is the reference when you want to see every field.
How to create a class
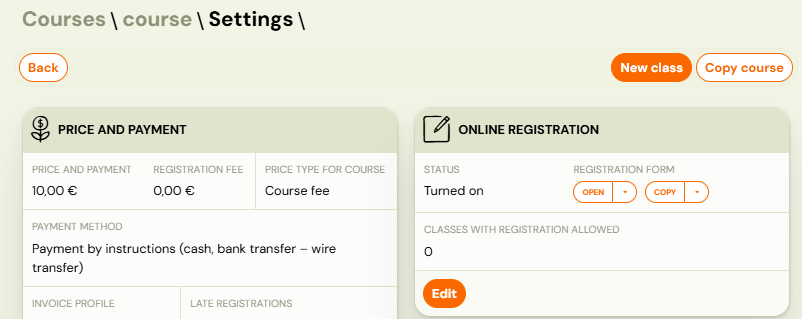
You can create a class in two ways:
- Directly after programme creation — Zooza takes you to the programme settings where you can add the first class.
- From the Programme Overview page — click New Class.
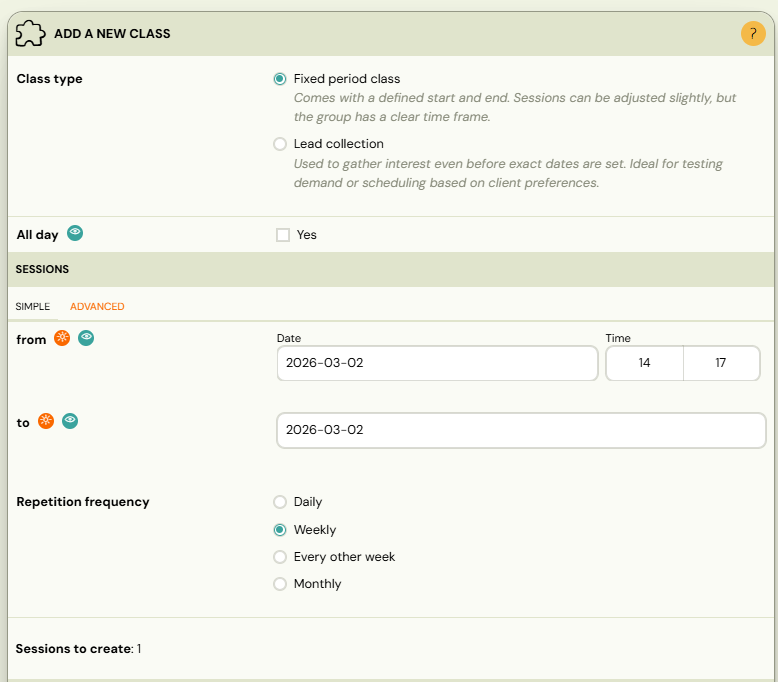
Step 1 — Choose the class type
Select one of the two class types:
| Type | Description |
|---|---|
| Fixed Period | A class with scheduled sessions (dates and times). Use this for most programmes — programmes, terms, camps. |
| Lead Collection | A class without sessions. Use this to collect interest from potential clients before scheduling. When you add sessions later, it becomes a fixed period class. See Lead collection. |
Step 2 — Fill in class details
Fill in the following fields:
| Field | Description | Required |
|---|---|---|
| Class name | A descriptive name (e.g., "Monday 9:00 – Beginners"). | Yes |
| Billing period | The term or period this class belongs to (e.g., "Autumn 2025"). | Yes |
| Location | The venue where sessions take place. | Yes |
| Instructor | The assigned instructor. Options: a specific instructor, To be decided, Instructor unassigned, or Guest instructor. | Yes |
| Rate | Instructor pay rate for this class. Only shown if rates are configured. | No |
| Capacity | Maximum number of attendees per session. | Yes |
| Duration of sessions | Length of each session in minutes. | Yes |
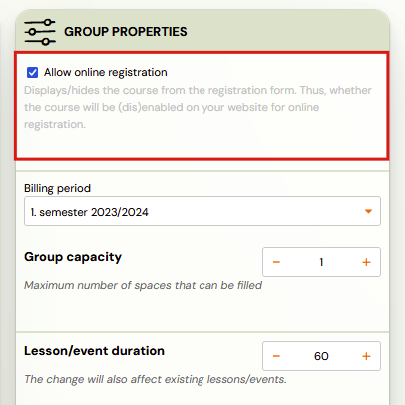
| Online Registration | Leave checked if you want the class to appear on the booking form immediately. Uncheck to set it up first and publish later. | — |
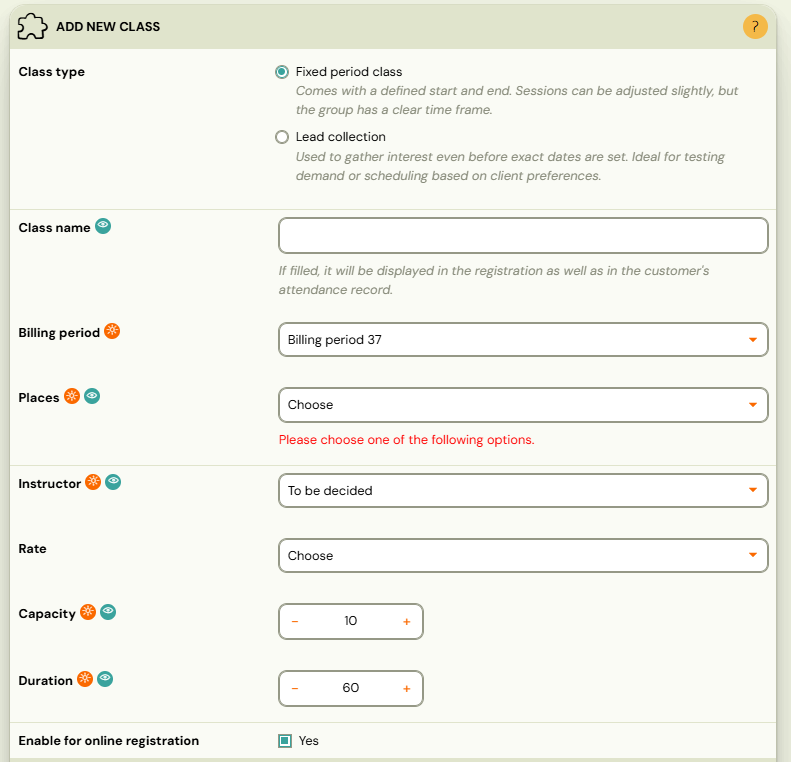
Note: Fields marked with an orange icon are required.
The instructor parents see is the one set here, on the class. Changing the instructor on individual sessions does not change the name on the booking form — the form reads the class. If you swapped someone out and the old name is still on your website, this is why.
Second thing to check: the instructor's own profile has a show nickname only setting. With it on, parents see the nickname rather than the name — so a name you do not recognise may be the right person under a nickname you forgot was set.
Duration of sessionsis what parents see on the booking form. The form shows this one number from the class — it does not read the length of the first session, or of any session. That is deliberate: individual sessions within a class can run to different lengths, so one figure has to stand for the class.If the booking form advertises 60 minutes and your sessions actually run 45, this field is what to correct — Class → Settings → Class properties — not the sessions. Changing the sessions will not move the number parents see.
Step 3 — Define sessions (Fixed Period only)
If you selected Fixed Period, you can define sessions immediately:
| Mode | How it works |
|---|---|
| Simple Setup | Pick the weekdays the class runs on and let Zooza generate the sessions between two dates. Enough for most term classes. |
| Advanced Setup | Opens the full session creation wizard for detailed configuration — specific dates, times, holidays to skip, billable sessions, and blocks. |
The weekday picker takes more than one day. Days appear as Mon–Sun circles you toggle on. Selecting Monday and Wednesday generates sessions on both, so a class that meets twice a week is one pass through the wizard rather than two.
The dates usually come from the billing period. If the billing period you chose has its own start and end date, Simple Setup shows those as a summary row instead of asking you to type dates. Click the pencil if this class runs shorter than the term. Billing periods without a date range still show plain from/to fields.
Generation stays inside those bounds: the first session is the first selected weekday on or after the start date, and nothing is created after the end date.
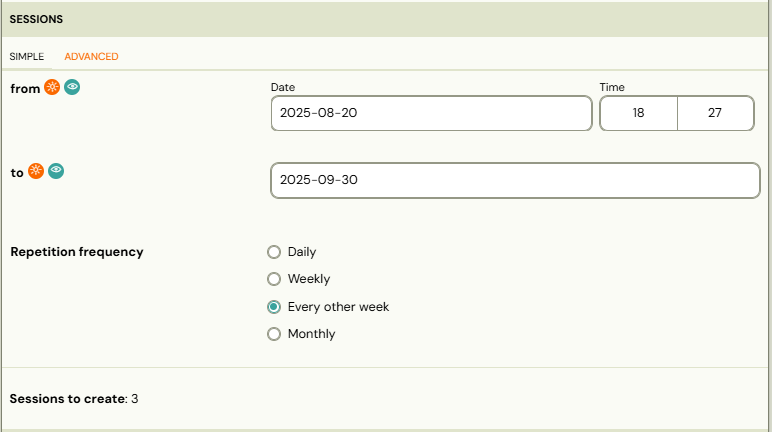
You can also skip this step and add sessions later from the class detail page.
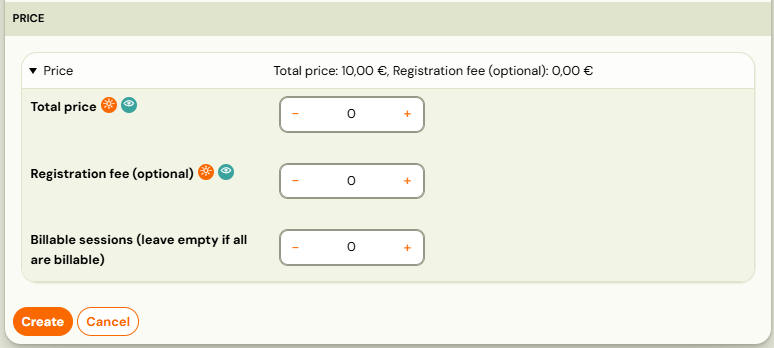
Step 4 — Set the class price (optional)
If this class should have a different price than the programme default, enter it here. Otherwise, leave the field empty — the programme price applies automatically.
This is useful when different class levels or locations have different pricing.
After creating the class
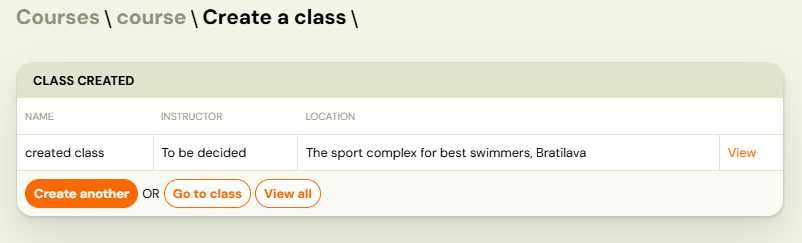
After saving, Zooza shows a summary of all classes created during this session. From here you can:
- Create another class.
- Open the newly created class.
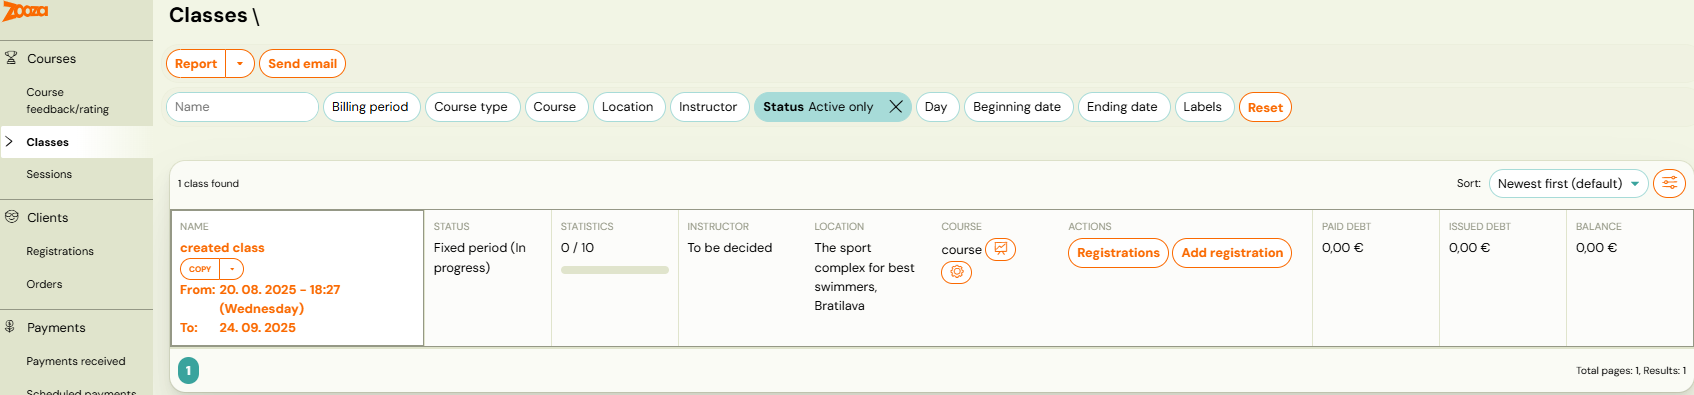
- Navigate to the Classes section to see the full list.
Tip: If you need to create multiple similar classes (e.g., same programme, different time slots), it can be faster to create one class and then copy it from the programme overview.
Classes overview
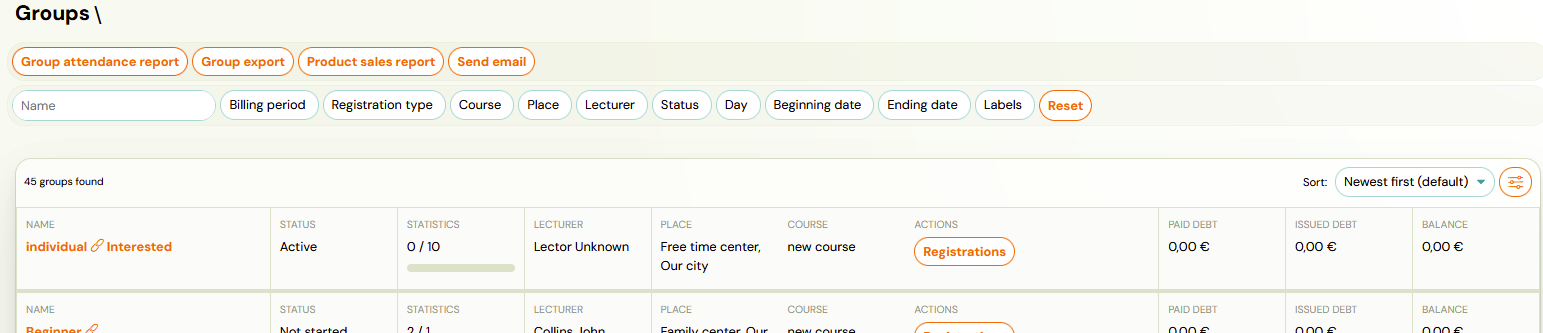
All classes across all programmes are visible in the Classes section in the left menu (Activities → Classes).
Filters
You can filter classes by:
- Class name (text search)
- Billing period
- Programme type
- Programme
- Location
- Instructor
- Status
- Day
- Start and end date
- Labels
Action buttons
Above the filter you have action buttons:
| Button | What it does |
|---|---|
| Class attendance report | Exports a complete attendance report for all filtered classes. |
| Class export | Exports summary information about filtered classes in tabular form. |
| Product sales report | Overview of all bookings and products purchased during registration. |
| Send email | Send a mass email to clients in filtered classes. Works the same as Sending email/SMS to clients. |
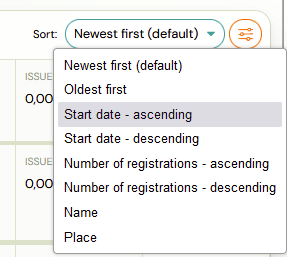
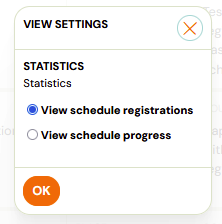
You can also change the sort order and choose between Registration Progress and Class Progress views.
Understanding the class tile
Each class in the list shows summary information at a glance:
| Information | Description |
|---|---|
| Class name | The name you assigned. |
| Date range | Start and end date of the class. |
| Status | Current state of the class (see table below). |
| Instructor | Assigned instructor name. |
| Location | Venue name. |
| Paid debt | How much of the total debt has been paid so far. |
| Issued debt | Sum of all debts created from all booking types (including late and waiting list). |
| Balance | Current account status. |
Class statuses
| Status | Meaning |
|---|---|
| Not started (Active) | The class has not started yet but is active and available for booking. |
| Active | The class is active and currently accepting bookings. |
| In progress (Active) | The class has already started and is still active. |
| Ended (Active) | The class has ended but is still technically active (e.g., waiting for final payments). |
| Ended | The class has ended and is no longer active. |
| Archived | The class has been manually archived. |
| Ended (Archived) | The class has ended and was archived. |
Important: Financial numbers (paid debt, issued debt, balance) are recalculated every 30 minutes. They may not reflect the most recent changes immediately.

Class detail
Clicking on a class opens the Class Detail page, where all settings and data are organised into sections:
- Settings — class name, capacity, venue, billing period, online registration toggle, labels.
- Instructors — primary and additional instructors.
- Products — products linked to this class.
- Price and Payment — class-level price override and payment frequency.
- Documents — attached documents.
- Make-up Sessions — make-up rules for this class.
- Report — session-by-session attendance report.
- Sessions — full list of sessions with status, attendance, and actions.
Labels on classes
In the class settings, you can assign a label to the class for internal organisation. Labels let you filter classes in the Classes overview. See Labels for details.

Report section
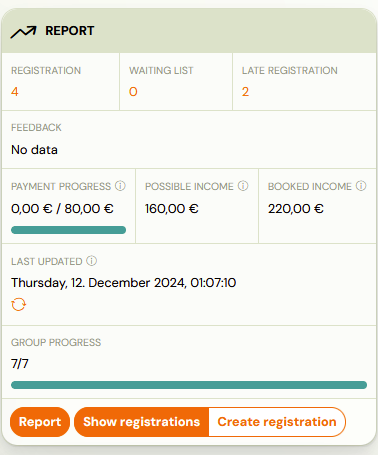
The Report section shows booking and financial data:
- Current number of bookings.
- Waiting list and late booking count.
- Payment progress (recalculated every 30 minutes):
- Current debt from bookings in "Enrolled" status.
- Estimated income at 100% capacity.
- Maximum possible income at full capacity (including waiting list and late bookings).
Related
- Programme, class, session definition — understanding the hierarchy.
- Class Detail — full field reference for the class detail page.
- Classes List — reference for the classes overview screen.
- Edit sessions in programmes — adding and editing sessions.
- Lead collection — using lead collection classes.
- New programme with existing clients — copying classes with bookings.
- Labels — using labels to organise classes.